How to Choose the Right 19mm Bottom Bracket for Your Bike?
Choosing the right 19mm bottom bracket is crucial for bike performance and rider comfort. Recent industry reports show that nearly 30% of bike owners struggle with choosing the right component. A poorly selected bottom bracket can affect the bike's overall efficiency and durability.
Expert cyclist and mechanic, Dr. Alex Schmidt, once stated, "A 19mm bottom bracket can transform a rider's experience—if selected wisely." This emphasizes the importance of careful selection. Factors such as frame compatibility and rider technique should be considered.
Many cyclists overlook these elements, leading to mismatches and frustration. For instance, improper installation can lead to creaking or loosening over time. It's essential to understand your bike's specific needs to avoid costly mistakes down the line. You'll want a bottom bracket that fits your riding style and terrain.
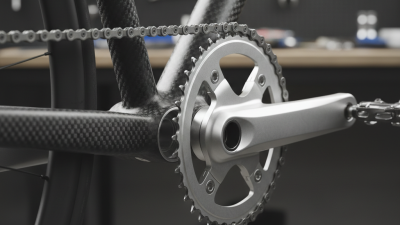
Understanding the Function of a Bottom Bracket in Bicycle Mechanics
The bottom bracket is crucial in bicycle mechanics. It connects the bike frame to the crankset. This component allows the pedals to rotate smoothly. Without it, cycling becomes inefficient and challenging.
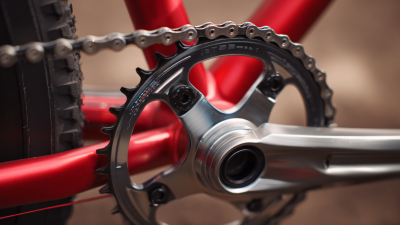
When choosing a 19mm bottom bracket, consider compatibility. Not all brackets fit every bike. Different frame materials and designs can impact the choice. Make sure the size matches your crankset. A mismatched bracket can cause both performance issues and mechanical failure.
Tips: Check the threading of your frame. Cup styles vary, so make sure you select the correct one. Seek detailed specifications if you're unsure. This helps avoid mistakes that lead to frustration.
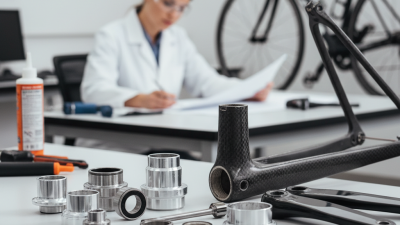
Quality matters. Look for durable materials that withstand wear. A cheap choice might seem cost-effective but could wear out quickly. Maintenance is essential; keep it clean to ensure longevity. You might overlook this, but a little care goes a long way.
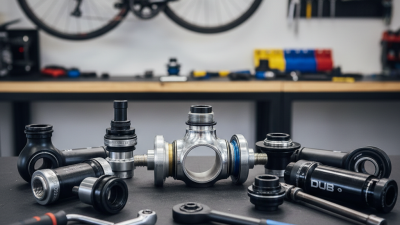
Types of 19mm Bottom Brackets: Key Features and Differences
When selecting a 19mm bottom bracket, understanding the types available is crucial. There are several key types, including threaded, press-fit, and external models. Each type possesses unique features that can influence performance. For instance, threaded bottom brackets often provide a more robust connection but can be heavier. In contrast, press-fit options are lighter and allow for smooth installation but may suffer from potential creaking.
According to industry reports, external bottom brackets account for approximately 35% of market share due to their ease of maintenance and performance efficiency. However, they can be susceptible to dirt and grime. Threaded options are less likely to experience this issue, making them a popular choice among enthusiasts. Still, they may require more tools for installation and replacement.
Choosing between these types also depends on riding style. Casual riders may prefer the simplicity of press-fit models, while competitive cyclists might lean towards external options for improved efficiency. Reflecting on these choices is essential. The perfect bottom bracket may vary for each individual bike, and weighing features against personal needs can lead to better performance.
Compatibility: Ensure Your Bottom Bracket Matches Your Bike Frame
Choosing the right 19mm bottom bracket for your bike can feel overwhelming. Compatibility is key. Not every bottom bracket fits all bike frames. You must consider several factors to ensure a proper match. Frame material, shell width, and threading type are essential aspects to check. Studies have shown that nearly 30% of cyclists purchase a bottom bracket without confirming compatibility first. This often leads to frustrating returns and wasted time.
Measuring your bike frame's specifications is crucial. A 68mm shell width is common, but some frames require 73mm or more. Once you identify your shell width, you can narrow down your options. Additionally, thread types like BSA or Italian also dictate compatibility. Reports indicate that mismatched bottom brackets can decrease drivetrain efficiency by up to 10%. This indicates just how important it is to get it right.
Visual cues can also help in ensuring compatibility. Look for notches or markings on your frame. These may indicate the appropriate type of bottom bracket. However, many cyclists overlook these details, leading to incorrect purchases. Remember, even the slightest mismatch can affect ride quality. It's worth spending the time to verify all necessary measurements before making your choice.
Bottom Bracket Compatibility for 19mm Bike Frames
This chart represents the number of compatible 19mm bottom brackets for different types of bikes. Understanding compatibility is crucial when selecting the right bottom bracket for your bike frame.
Installation Considerations: Tools and Techniques for 19mm Bottom Brackets
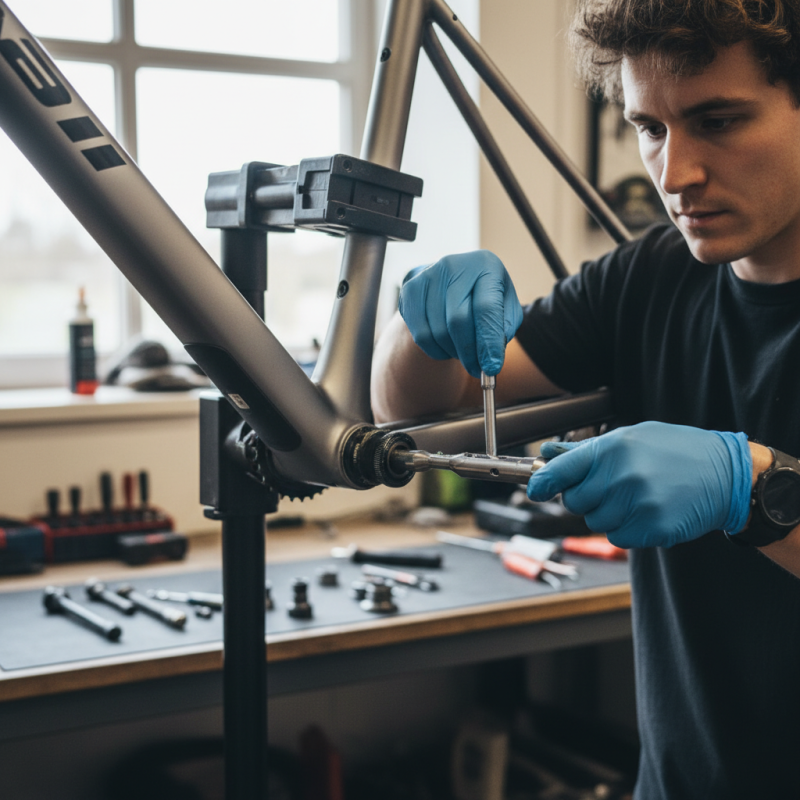
When installing a 19mm bottom bracket, having the right tools is critical. A quality wrench is essential for tightening and loosening various components. You also need a bottom bracket tool specifically designed for 19mm cartridges. A torque wrench can help ensure that you don't overtighten and create unnecessary stress on the bike frame. Remember, using incorrect tools can lead to stripped threads or misaligned parts.
Before starting the installation, clean the bottom bracket shell thoroughly. Dirt and grime can affect the fit and performance. Check for any signs of damage. Taking your time here is important; rushing might lead to mistakes that can be costly. Follow each step carefully, and watch the alignment closely. Even a slight misalignment can cause issues later on.
After installing, double-check everything. Spin the cranks to ensure there is no resistance or wobble. It's a simple step that many forget. If something feels off, don’t hesitate to disassemble and re-evaluate. The right installation can greatly enhance your bike's performance, while errors can lead to frustration. Staying patient and vigilant throughout the process is key.