Unlocking Performance: The Ultimate Guide to BSA 68mm Bottom Brackets for Cycling Enthusiasts
The significance of a well-functioning bottom bracket in cycling performance cannot be overstated, especially when it comes to the BSA 68mm bottom bracket, which has become a popular choice among cycling enthusiasts. According to a report by the Cycling Industry Council, an estimated 60% of cyclists believe that the bottom bracket is a critical component affecting their bike's efficiency and comfort. Furthermore, the right bottom bracket can enhance power transfer by up to 10%, contributing to improved acceleration and speed on the road. In a sector where performance enhancements are continuously sought, understanding the nuances of BSA 68mm bottom brackets is essential. With their compatibility across a wide range of bicycles and the ability to accommodate various crankset designs, these bottom brackets hold significant potential for optimizing cycling performance. This guide aims to unlock the full potential of your cycling experience by exploring the features, benefits, and maintenance of BSA 68mm bottom brackets.
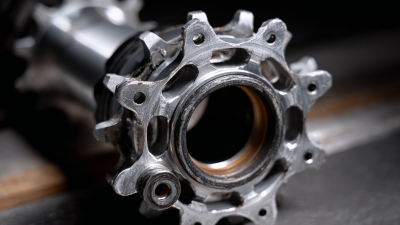
Understanding BSA 68mm Bottom Brackets: Key Features and Benefits
When it comes to cycling, the bottom bracket is a critical component that directly affects performance and comfort.
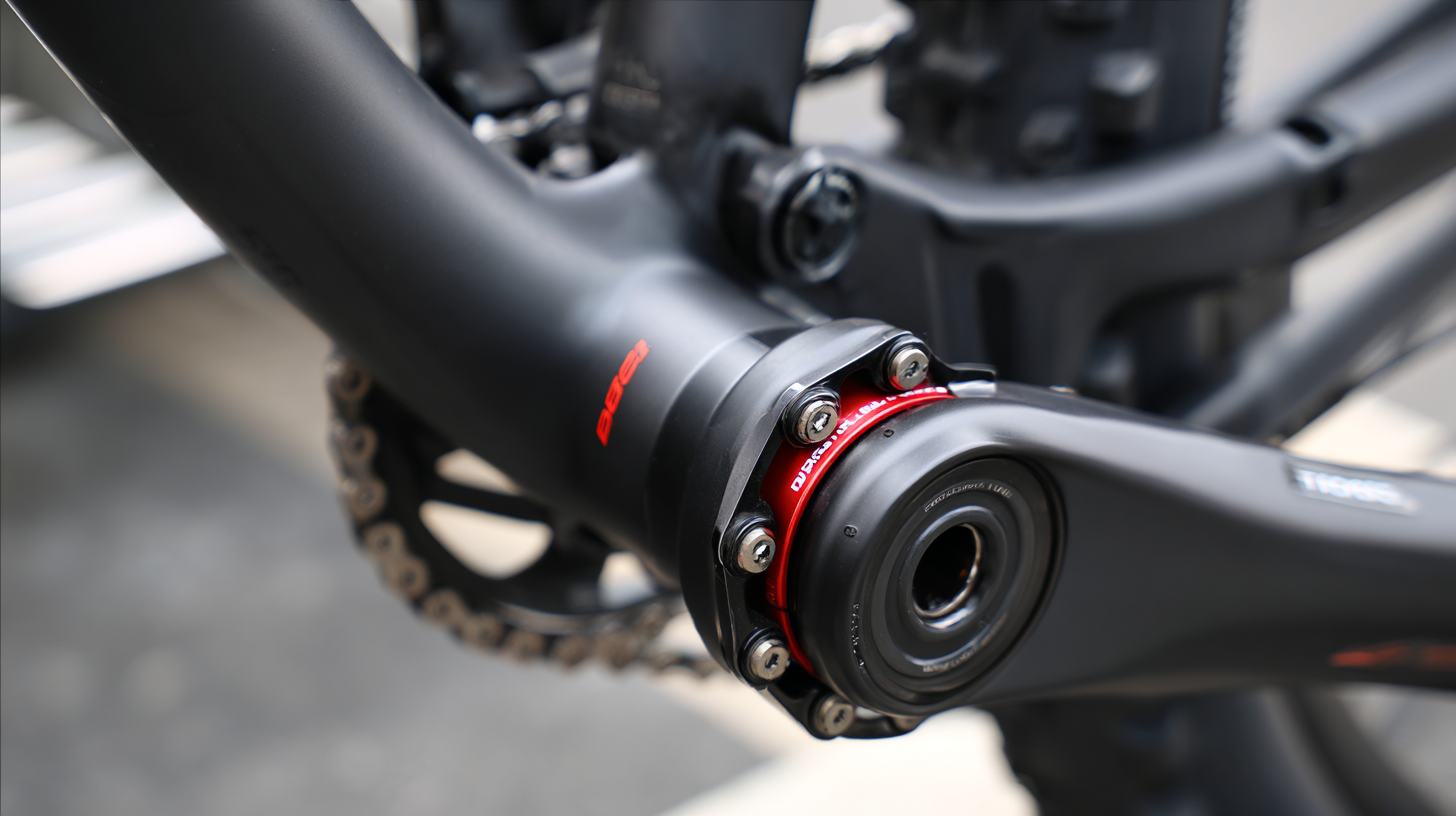
The BSA 68mm bottom bracket, with its standardized threading and compatibility, has emerged as a popular choice among cycling enthusiasts.
One key feature of this type of bottom bracket is its ease of installation and maintenance, making it a go-to option for both amateur and professional cyclists.
The threaded design offers a secure fit that minimizes the risk of creaking and other performance issues that can detract from the riding experience.
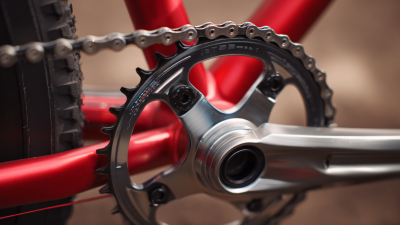
In addition to practical benefits, BSA 68mm bottom brackets are also known for their extensive range of compatibility with various cranksets and frames.
This versatility allows cyclists to customize their setups according to their specific performance needs and preferences.
The robust construction of these bottom brackets ensures durability, enabling riders to tackle diverse terrains without worrying about wear and tear.
By understanding the features and benefits of BSA 68mm bottom brackets, cycling enthusiasts can make informed decisions that enhance their ride quality and overall cycling experience.
Selecting the Right Tools for BSA 68mm Bottom Bracket Installation
When it comes to selecting the right tools for installing BSA 68mm bottom brackets, understanding the intricacies of installation is crucial. A properly installed bottom bracket can significantly enhance cycling performance, allowing for smoother pedaling and improved power transfer. For example, reports indicate that upgrading to high-quality bearings, such as stainless steel or ceramic, can result in a 2-5% increase in pedaling efficiency. This improvement can make a noticeable difference during long rides or competitive events.
Choosing the right tools, including specialized wrenches and press-fit systems, will also ensure the longevity of your bottom bracket. Common installation challenges often arise with non-standard bottom bracket types and intrusive chainstays. It's recommended that enthusiasts have a clear understanding of compatibility between their bike frame and the selected bottom bracket, as mismatched components can lead to unnecessary hassle. Detailed guides and technical data suggest that investing in quality installation tools is just as important as the bottom bracket itself, as they can prevent premature wear and enhance overall riding experience.
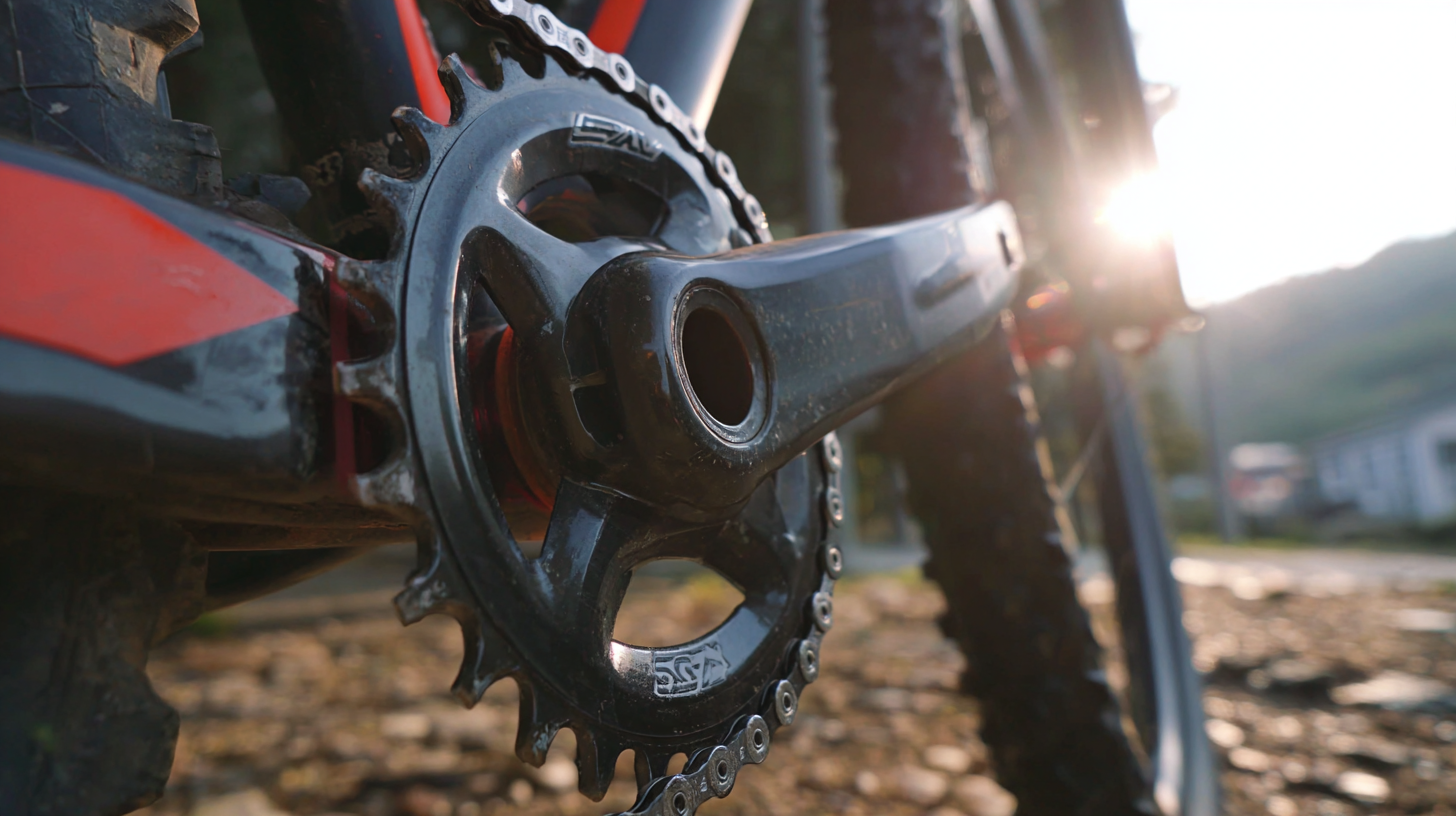
Step-by-Step Guide to Installing Your BSA 68mm Bottom Bracket
Installing a BSA 68mm bottom bracket can significantly enhance your cycling performance, making it easier to transfer power from your legs to the bike. First, ensure you have the right tools: a bottom bracket tool, a torque wrench, and plenty of bike grease. Begin by removing the crankset, followed by the old bottom bracket, ensuring to clean the shell thoroughly. According to a report by the National Cycling Association, effective installation can improve overall drivetrain efficiency by up to 5%—a crucial aspect for competitive cyclists.
When you're ready to install the new BSA 68mm bottom bracket, apply a light layer of grease to the threads and carefully screw it into the shell, making sure it is seated properly. Use a torque wrench to tighten it to the manufacturer’s specifications, as improper torque can lead to premature wear or damage. Research indicates that cyclists who regularly maintain their bottom brackets can extend the lifespan of their components by up to 30%. Once installed, reattach the crankset and ensure everything is functioning smoothly—an essential step for optimal cycling performance.
Bottom Bracket Installation Performance Comparison
This chart illustrates the performance metrics of BSA 68mm bottom brackets, highlighting aspects such as installation time, maintenance frequency, weight, and durability in a cycling context.
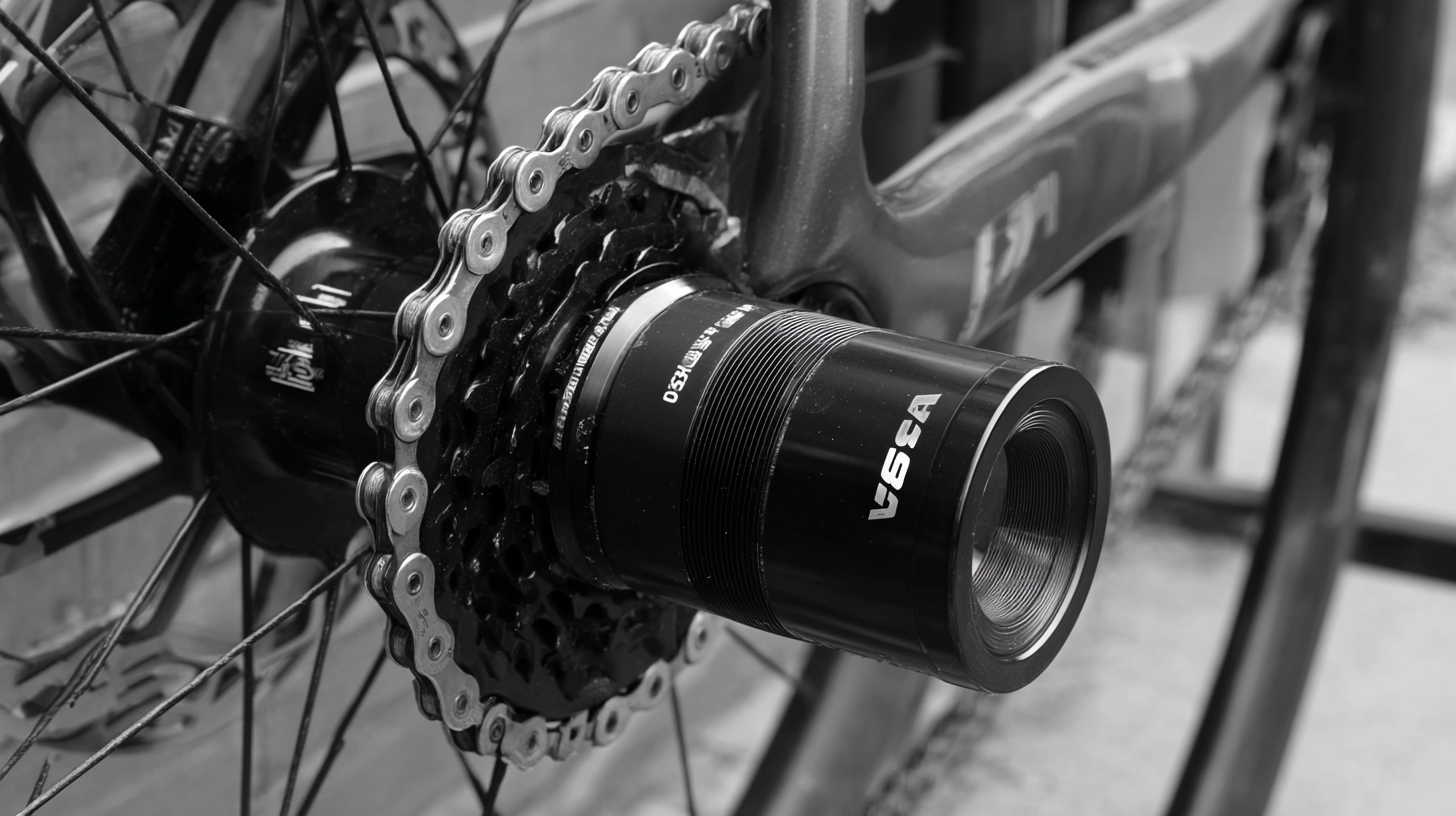
Common Troubleshooting Tips for BSA 68mm Bottom Brackets
When it comes to cycling performance, a well-functioning bottom bracket is crucial, and the BSA 68mm is a popular choice among enthusiasts. However, issues like creaking can detract from your biking experience. If your bottom bracket is noisy, it might be time to consider replacement options. There are several high-quality alternatives available that can enhance your ride with smoother operation, thanks to innovations in bearing materials such as stainless steel and ceramics, which significantly reduce friction and enhance durability.
If you're experiencing installation challenges or compatibility issues with your BSA 68mm bottom bracket, there are common troubleshooting tips to consider. For instance, ensure that your frame and bottom bracket are clean and free of debris before installation. If you're dealing with non-standard measurements or unique chainstay designs, using the correct tools can make the installation process much smoother. With the right replacement and proper installation, you can enjoy a seamless pedaling experience and maximize your cycling performance.
Maintenance Best Practices for Longevity of BSA 68mm Bottom Brackets
To ensure the longevity and optimal performance of BSA 68mm bottom brackets, regular maintenance is key. One of the first steps to take is to keep the area around the bottom bracket clean. Dirt and grime can accumulate, leading to premature wear. Using a soft brush, clean any debris from the crankset and the bottom bracket shell. Additionally, a degreaser can be applied periodically to maintain smooth operation.
Another crucial maintenance practice is to periodically check for any play in the bottom bracket. This can be done by gently wiggling the crank arms. If any movement is detected, it may indicate a need for adjustment or replacement of the bearings. Regularly inspecting the tightness of the bottom bracket can prevent future issues. Lastly, applying a little grease to the threads during installation can help protect against corrosion, ensuring that the bottom bracket remains functional for many miles of cycling.